As winter approaches, the last thing you might think about is your air conditioner. Yet, every year, countless homeowners face the harsh reality of a malfunctioning AC when summer returns: costly repairs and unbearable delays in cooling their homes.
This preventable dilemma occurs when AC units are left unprotected against winter's icy grip. Understanding how to winterize your AC unit isn't just about ticking a box on your winter prep checklist; it's about avoiding the frustration and expense of emergency repairs.
This guide will walk you through the crucial steps to ensure your air conditioner is safeguarded, so it's ready to perform when you need it most.
Why Winterize Your AC Unit?
In Southwest Florida, winterizing your AC might seem unnecessary given the mild winters. However, protecting your AC unit from harsh conditions is crucial even here. Leaves, dirt, and other debris can build up, causing rust and mechanical issues.
If left unchecked, these problems can lead to expensive repairs or even the need for a new unit. Winterizing helps prevent this damage. It ensures your AC runs efficiently when you need it.
Plus, maintaining your AC saves you money in the long run by avoiding unexpected repair costs and extending the life of your unit.
Gather the Necessary Tools and Materials
Before starting the winterization process, having the right tools and materials on hand is crucial. You'll need a garden hose to clean the unit, a sturdy cover specifically designed for air conditioners, foam pipe covers for insulation, and weatherproof tape to secure them.
A screwdriver will come in handy for opening the unit's casing if you need to clean the interior or make minor repairs. Wearing a pair of gloves can protect your hands from sharp edges or debris.
Shut Off Power to the AC Unit
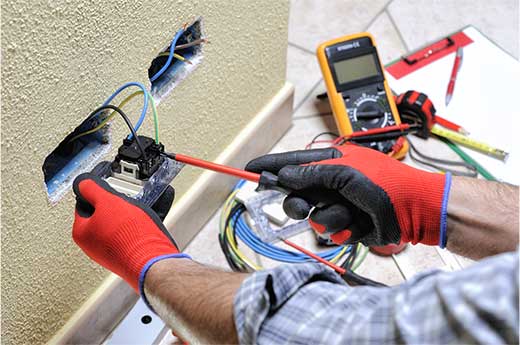
One of the most important steps in winterizing your AC unit is to shut off its power. This precaution prevents any electrical hazards and protects the unit from potential surges during winter storms.
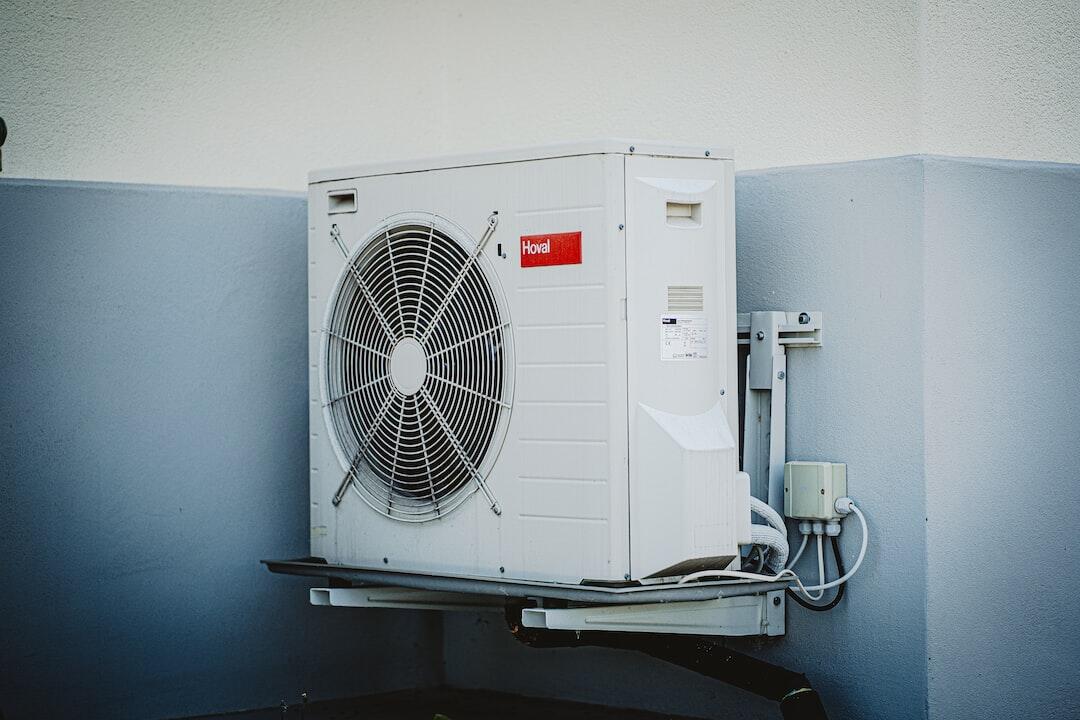
To turn off the power, locate the breaker box, typically found in your garage or utility room. Identify the switch that controls your air conditioner and turn it off. Some units also have a disconnect box near the outdoor unit; make sure this is switched off as well.
Ensuring the power is completely off before you proceed with cleaning or covering the unit is essential. This step not only keeps you safe but also helps protect your AC from any unexpected electrical issues during the winter months.
Clean the AC Unit
Cleaning your AC unit is a critical step in the winterization process. Start by clearing the area around the unit and removing leaves, dirt, and any other debris.
Use a hose to gently wash the exterior, making sure to remove any built-up dirt. Avoid using high-pressure settings as they can damage the unit's fins.
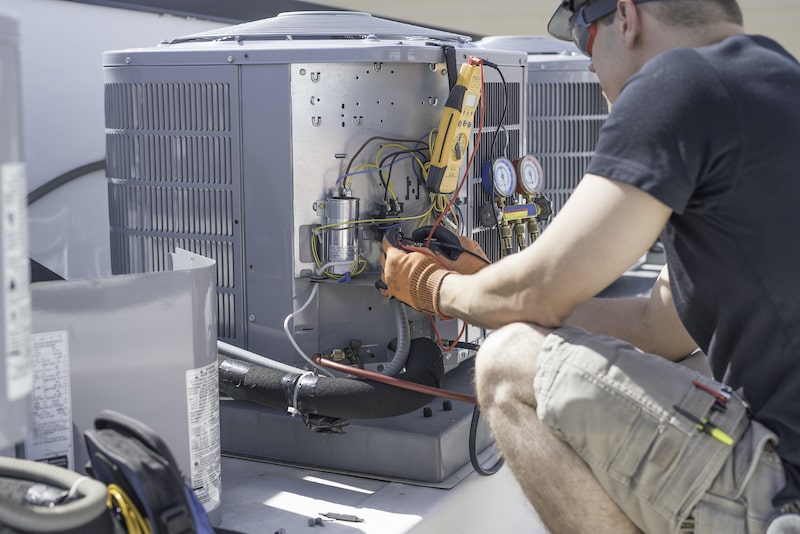
Next, open the unit and carefully clean the interior components. Check for any debris that might have gotten inside and remove it. While cleaning, inspect for signs of wear or damage, such as bent fins or loose screws.
Addressing these minor issues now can prevent bigger problems later. Regular cleaning not only helps in winterizing but also improves the efficiency of your AC unit.
Inspect and Repair Any Damage
While cleaning, take the opportunity to inspect your AC unit thoroughly. Look for common issues such as cracks, rust, and loose screws.
If you find any cracks in the casing or significant rust spots, these should be repaired immediately to prevent further damage. Tighten any loose screws to ensure all parts are securely fastened.
For more severe issues, such as extensive rust or mechanical problems, it's best to call a professional. Addressing these problems early will save you from more costly repairs down the road and ensure your unit is ready to go when you need it.
Cover the AC Unit
Choosing the right cover for your AC unit is essential. A good cover will protect your unit from the elements, including debris, rain, and the occasional cold snap. Make sure the cover fits securely over the unit without leaving gaps.
Covering your AC unit helps keep it clean and prevents damage from debris and moisture. However, it's important to ensure proper ventilation. Covers that trap moisture can lead to mold and mildew growth inside the unit.
Look for covers designed with ventilation flaps or openings to allow air circulation while keeping out debris.
Insulate Exposed Pipes and Lines
Insulating exposed pipes and lines is a key part of winterizing your AC unit. Even in Southwest Florida, there can be occasional cold spells that might cause exposed pipes to freeze and crack. Use foam pipe covers or weatherproof tape to insulate these components.
Start by measuring the length of the pipes and cutting the insulation to fit. Secure the insulation around the pipes, ensuring there are no gaps. This step will help protect your AC in winter from any unexpected cold weather and keep it running efficiently.
Check and Seal Ductwork
Inspecting and sealing your ductwork is another important aspect of preparing your air conditioner for winter. Leaky ducts can cause significant energy loss and make your heating system work harder than necessary during the cooler months.
Walk through your home and inspect the ductwork, paying close attention to joints and connections. If you find any gaps or cracks, seal them using duct tape or a specialized duct sealant.
This not only helps in winterizing your AC unit but also improves the overall efficiency of your HVAC system.
Learn More About How to Winterize Your AC Unit
Winterizing your AC isn't just a preventative measure; it's a necessity. By following the steps outlined in this guide on how to winterize your AC unit, you're setting yourself up for a worry-free winter and a cooler summer.
At PowerHouse Home Services, we're committed to providing unmatched quality and reliability. Our technicians are ready to assist you with any additional winter home maintenance or emergency services.
Don't wait for the cold to tell you it's too late. Contact us today and experience the peace of mind our clients rave about.


